
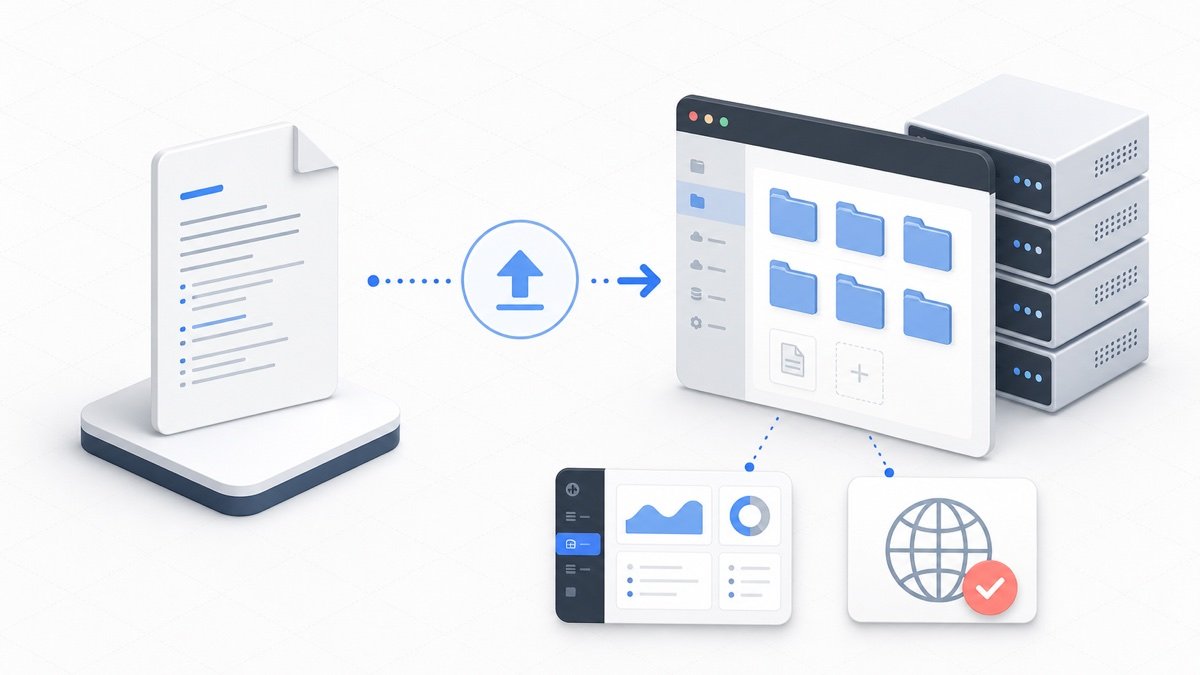
Short Answer
To add llms.txt in WordPress or Hostinger, create the file, validate it, upload it to the public root folder, and confirm it loads at https://yourdomain.com/llms.txt.
On many Hostinger and cPanel sites, the public root is public_html. On WordPress, it is usually the folder that contains wp-config.php, wp-content, wp-admin and wp-includes.
Before You Upload
First, create your file with the free llms.txt generator. Then check it with the llms.txt Validator. Your final file should be named exactly llms.txt.
- Use lowercase:
llms.txt. - Avoid names like
llms.txt.txt,llms-final.txtorllms.md. - Make sure important links use full URLs or valid site paths.
- Remove private pages, draft URLs and old staging links.
How to Add llms.txt in WordPress
Adding an llms.txt file to WordPress helps AI systems find the most important pages on your site. The safest method is to upload the file through your hosting file manager or FTP, because WordPress itself does not always provide root-file editing by default.
- Generate your file with the llms.txt generator and download it.
- Log in to your hosting account, cPanel, FTP client or file manager plugin.
- Find your WordPress root folder. It usually contains
wp-config.php,wp-content,wp-adminandwp-includes. - Upload
llms.txtinto that same root folder. - Open
https://yourdomain.com/llms.txtin your browser. - If it does not load, clear cache and confirm the file was uploaded to the correct domain folder.
How to Add llms.txt in Hostinger
For Hostinger sites, upload the file through hPanel File Manager. Most standard Hostinger websites use public_html as the public root folder, but subdomains and framework apps may use a different folder.
- Download your finished
llms.txtfile. - Log in to Hostinger and open hPanel.
- Select the website you want to update and click Manage.
- Open File Manager.
- Go to
public_htmlfor a normal website, or the public folder configured for your app. - Upload
llms.txt. - Visit
https://yourdomain.com/llms.txtand confirm the content appears.
How to Add llms.txt With cPanel or FTP
The same idea applies to cPanel, FTP and most shared hosting accounts. You upload the file to the folder that maps to your public domain.
- Open File Manager or connect through FTP/SFTP.
- Find the public root folder for the domain.
- Upload
llms.txt. - Set normal readable file permissions if needed, commonly
644. - Test the public URL in a private browser window.
Where Should the File Go?
The recommended location is the site root. If your site is https://example.com, your file should be available at https://example.com/llms.txt.
If your site lives on a subdomain such as docs.example.com, and that subdomain is the documentation site you want AI agents to understand, publish the file at https://docs.example.com/llms.txt.
Final Checks After Uploading
After uploading, do not assume everything worked. Test the public URL and check the live file.
- Open the URL in a browser and confirm the file loads as plain text.
- Check that the file is not blocked by authentication.
- Confirm important links are public and crawlable.
- Make sure your server is not redirecting
/llms.txtto the homepage. - Run the live file through the validator if you make changes later.
Common Upload Problems
- 404 error: the file is missing or uploaded to the wrong folder.
- Homepage loads instead: a rewrite rule may be catching the request.
- Download prompt appears: this is usually fine for a text file, but plain browser display is easier to inspect.
- Old content appears: clear cache or CDN cache and reload.
- Permission error: check file permissions and hosting security rules.